Solar Charge Controller Guide for Camper Vans: 5 Critical Questions to Power Your Off-Grid Setup
As van life and mobile off-grid living continue to gain popularity, setting up a reliable solar power system in a camper van has become more important than ever. At the core of every effective setup is the solar charge controller, the component responsible for managing energy flow between your solar panels and battery bank. Whether you're planning a weekend escape or full-time van living, understanding how to size, build, and maintain your solar system is key to energy independence and comfort on the road. This guide walks you through the essential components, practical choices, and monitoring tips to ensure your camper van stays powered wherever your journey takes you.
How Do You Start Planning a Solar Power System for a Camper Van?
Understanding Your Power Needs
The foundation of a reliable camper van solar setup is a clear understanding of your energy demands. Start by listing every electrical device you expect to use inside the van, such as interior LED lights, roof fans, mobile phone chargers, a refrigerator, water pumps, laptops, and any entertainment systems. For each device, check its watt rating (usually printed on the label or adapter) and estimate how many hours per day you'll be using it. For example, a 50W fridge running for 10 hours per day will consume 500Wh. Tally up the watt-hours of all devices to get your daily usage total — this is the baseline for sizing the rest of your system.
Don't forget to account for future expansion. Many vanlifers later add devices like electric cooktops, Wi-Fi routers, or even portable heaters. Adding a 20–30% buffer to your energy estimate will give you flexibility and peace of mind.

Sizing Your Battery Bank
With your total daily consumption calculated, you can begin sizing the battery bank. Battery capacity is measured in amp-hours (Ah) or watt-hours (Wh), and for a 12V system, you can convert between the two (Wh = Ah × 12). Suppose your van uses 1000Wh daily; to avoid deep discharges that reduce battery life, plan to use only 50–60% of your battery's capacity (for lead-acid batteries) or up to 80% (for lithium). For example, if you're using lithium, a 1500Wh battery would be adequate. This ensures enough reserve power for cloudy days or unexpected energy surges.
Additionally, consider the form factor and mounting space for your batteries. Camper vans often have limited space, so choosing compact, high-density lithium batteries can save space and reduce weight — a critical factor for mobile energy systems.
What Role Does the Solar Charge Controller Play?
Protecting the Battery from Overcharge
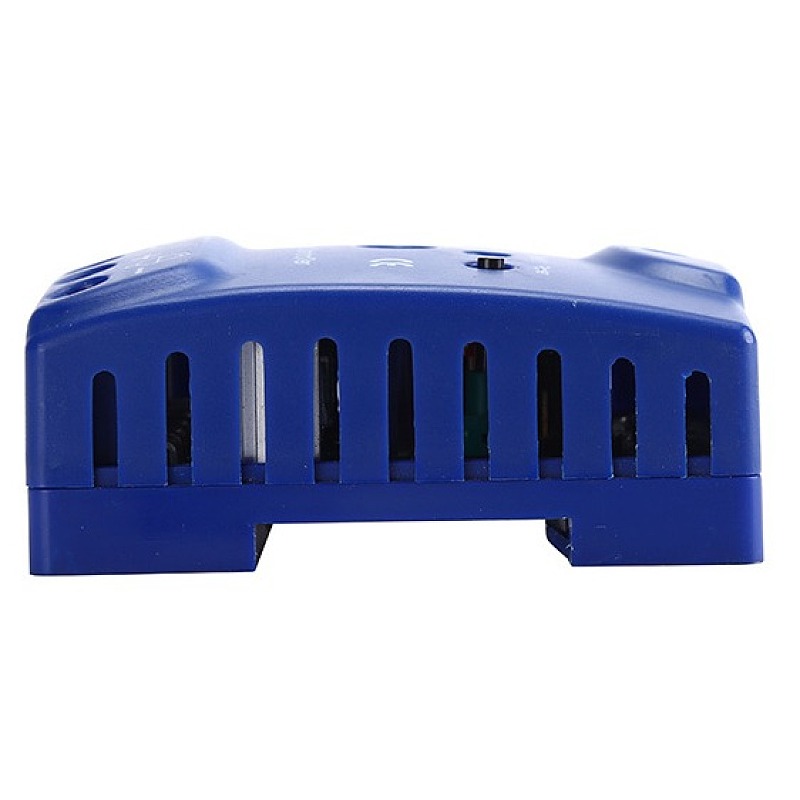
The solar charge controller is one of the most essential components in your camper van's solar setup. Its primary job is to regulate the voltage and current coming from the solar panels to the battery. Without a charge controller, the solar panels could overcharge your battery, leading to overheating, gassing, reduced battery lifespan, and even safety hazards. The controller ensures the battery receives a safe, stable voltage — typically around 13.8V to 14.6V for a 12V battery — and automatically reduces the current as the battery approaches full charge.
Many solar charge controllers also include temperature compensation and low-voltage disconnect functions. Temperature compensation adjusts charging parameters based on battery temperature, especially important for maintaining performance in cold or hot climates. Low-voltage disconnect prevents deep discharge by cutting off power when battery voltage drops too low.
Choosing Between PWM and MPPT
When selecting a solar charge controller, two main types are available: PWM (Pulse Width Modulation) and MPPT (Maximum Power Point Tracking). Each has distinct benefits, and choosing the right one depends on your system size, panel configuration, and budget.
PWM controllers are simpler, more affordable, and suitable for basic setups where solar panel voltage closely matches the battery voltage. MPPT controllers, on the other hand, are more advanced and efficient — they continuously track the panel's optimal power point and convert excess voltage into usable current. This is especially valuable when you're using higher-voltage panels or dealing with variable sunlight, such as during winter or partial shading.

Here's a quick comparison to help guide your selection:
| Feature | PWM Controller | MPPT Controller |
| Efficiency | ~75-80% | ~95-98% |
| Price | Lower cost | Higher cost |
| Ideal Panel Voltage | Equal to battery voltage | Higher than battery voltage |
| Best Use Case | Small systems, warm climates | Medium to large systems, all climates |
| Performance in Low Light | Limited | Excellent |
| Heat Generation | Less | Slightly more due to higher conversion |
For camper vans that rely on consistent off-grid performance, MPPT controllers are often the preferred choice, especially when space for solar panels is limited but maximum power output is desired.
How Do You Choose the Right Solar Panel Setup?
Fixed vs. Portable Panels
When planning your solar array, one of the first decisions is choosing between fixed and portable solar panels. Fixed panels are permanently mounted on the van's roof and provide continuous charging throughout the day as long as the van is in sunlight. They're ideal for minimal maintenance and are always working, even while you're driving. However, their exposure is limited to the angle of the van roof and the parking location — if you're in the shade, your charging stops.
Portable panels offer flexibility. You can park in the shade and place the panels in full sunlight using extension cables. Some are foldable, suitcase-style panels that can be easily stored and deployed. The downside is that they require manual setup and space for storage.
Many van owners opt for a hybrid system — fixed panels for passive daily charging and a portable panel to supplement when camped in shaded or low-sunlight areas.
Panel Wattage and Configuration
Solar panel wattage determines how much energy your system can generate per hour under ideal conditions. For most camper vans, a total of 200W to 400W is sufficient to meet daily energy needs, depending on usage habits. For minimal setups (LED lighting, charging phones, small fans), 100W–200W might be enough. For setups with a refrigerator, water pump, or laptops, 300W–400W is more appropriate.
In terms of configuration, panels can be wired in series, parallel, or series-parallel:
Series: Increases voltage, keeps current the same. Suitable for MPPT controllers.
Parallel: Keeps voltage constant, increases current. Ideal for PWM controllers.
Series-Parallel: Combines both benefits, used in larger systems with matching controller.
Proper panel configuration ensures your system works efficiently with your solar charge controller. Mismatched voltages or unbalanced wiring can lead to power loss or controller overload.
Panel Type and Build Quality
Monocrystalline panels are the most efficient and compact, making them ideal for small roof spaces. Polycrystalline panels are slightly less efficient but often cheaper. For rugged environments, ensure the panels have a tempered glass surface, aluminum frame, and an IP65 or higher junction box rating to withstand road vibration, dust, and moisture.
Investing in high-quality panels ensures long-term reliability and reduces the need for maintenance or early replacement — a critical factor when you're on the move and off-grid.
What Other Components Are Essential in the System?
Inverter and Cabling
While the solar panels and batteries handle DC (direct current), many common appliances like laptops, induction cookers, and some fans require AC (alternating current). That's where the power inverter comes in — it converts the 12V or 24V DC power stored in your battery into 220V or 110V AC power, depending on your region. In camper van setups, pure sine wave inverters are highly recommended because they provide clean, stable electricity that safely powers sensitive electronics without risk of damage or interference.
When choosing an inverter, match its continuous wattage rating with your total expected AC load. For example, if you plan to power a 300W blender and a 100W laptop simultaneously, you'll need at least a 500W inverter, ideally with a safety margin (e.g., a 700W or 1000W unit).
Equally important is wiring quality. Use thick, low-resistance cables for all DC connections — especially between the battery and the inverter — to minimize voltage drop. Undersized cables can lead to overheating, power loss, or even fire hazards. Pay close attention to cable length and material (copper is preferred) to ensure optimal current flow.
Fuses and Disconnects for Safety
Safety should never be an afterthought in a solar system. Each major component (panels, controller, battery, inverter) should be fused with a correctly rated fuse or circuit breaker. These protective devices prevent excessive current from damaging equipment or causing electrical fires in the event of a short circuit or surge.
For example:
Place a fuse between the solar panel array and the charge controller.
Another fuse between the controller and the battery.
And one between the battery and the inverter.
System disconnect switches are another critical component. These allow you to isolate sections of your system for maintenance or in emergencies. For mobile applications like camper vans, where space is confined and components are close together, having an accessible disconnect point helps ensure safety during troubleshooting or reconfiguration.
Mounting and Ventilation
Besides electrical parts, don't overlook the physical mounting system. Roof-mounted panels need secure, vibration-resistant brackets to handle bumps and wind while driving. Batteries and inverters should be housed in ventilated, non-metallic compartments to prevent heat buildup and ensure airflow, especially if using lead-acid batteries, which release gases during charging.
Good ventilation not only extends component lifespan but also prevents moisture buildup, a common issue in compact van environments. Ensuring components are securely fastened and adequately cooled is vital for safe, long-term use.
How Can You Ensure Long-Term Reliability and Monitoring?
Choosing Quality Components
Longevity starts with the right choices from day one. Camper vans experience frequent vibrations, temperature fluctuations, and exposure to moisture — all of which can degrade low-quality components. That's why selecting reliable, industrial-grade parts is essential. Look for solar panels with high-efficiency monocrystalline cells and durable frames, charge controllers with heat-resistant circuitry, and batteries that are designed for deep-cycle use and mobile environments.
Lithium iron phosphate (LiFePO₄) batteries are increasingly popular in van systems due to their long cycle life, light weight, deep discharge capacity, and built-in battery management systems (BMS). Compared to traditional AGM or lead-acid batteries, lithium options offer better long-term value despite the higher upfront cost.
The same principle applies to the solar charge controller. Brands that offer overvoltage protection, temperature compensation, and automatic load management help maintain safe and consistent performance across different seasons and conditions.
Remote Monitoring and Maintenance
As off-grid power systems become more advanced, real-time monitoring has emerged as a game-changer for camper van owners. Many modern solar charge controllers now come with Bluetooth or Wi-Fi connectivity, allowing you to monitor your entire system using a smartphone or tablet.
Through a dedicated app, you can:
Track current solar input (volts, amps, watts)
Monitor battery voltage and state of charge (SOC)
View historical data and energy production trends
Set custom parameters like low voltage disconnect or battery type
This level of visibility helps prevent surprises — like waking up to a drained battery — and empowers you to make data-driven decisions. For example, if you notice solar input is consistently low, it may be time to clean your panels or adjust your parking location.
Maintenance is simplified when you have access to error logs and system alerts. Instead of manually diagnosing problems, smart charge controllers can notify you of faults such as overtemperature, low battery, or panel disconnection — reducing downtime and preventing damage.
Seasonal Adjustments and System Health
Solar performance varies by season, geography, and even time of day. In winter or during extended cloudy periods, you may need to reduce consumption or rely on backup charging (e.g., alternator charging while driving). Proactive monitoring allows you to adjust usage patterns and maintain optimal system performance.
Regular system checks, including terminal tightening, dust removal from panels, and verifying voltage readings, help extend component life. Combining robust hardware with proactive digital monitoring creates a resilient, long-term power solution for life on the road.

Conclusion
A dependable solar system can transform your camper van experience, providing clean, consistent power for lighting, refrigeration, charging, and more — all without relying on campground hookups. Among all components, the solar charge controller plays a central role in maintaining the health and performance of your battery bank. By combining smart planning, quality equipment, and real-time monitoring, you can build a system that meets your energy needs for years to come.
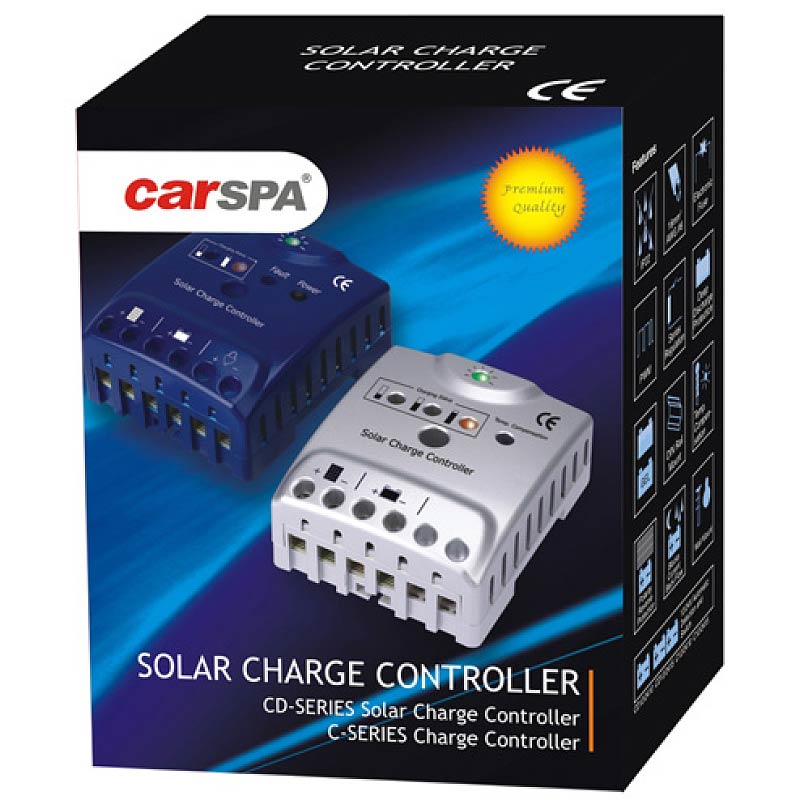
For durable and efficient solar charge controllers designed specifically for mobile and off-grid environments, CARSPA offers a trusted range of models suitable for camper van applications.