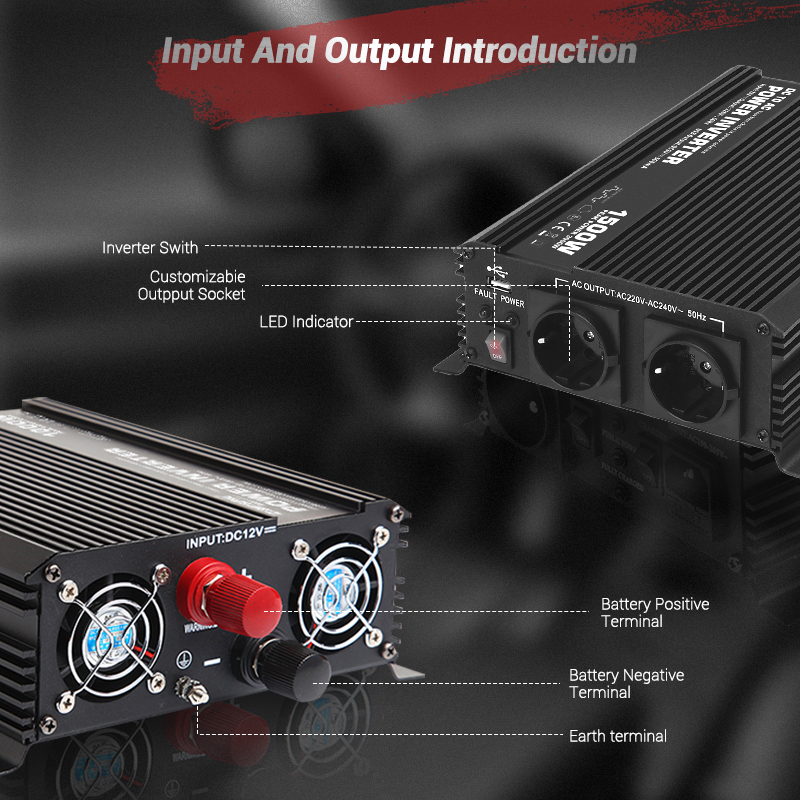
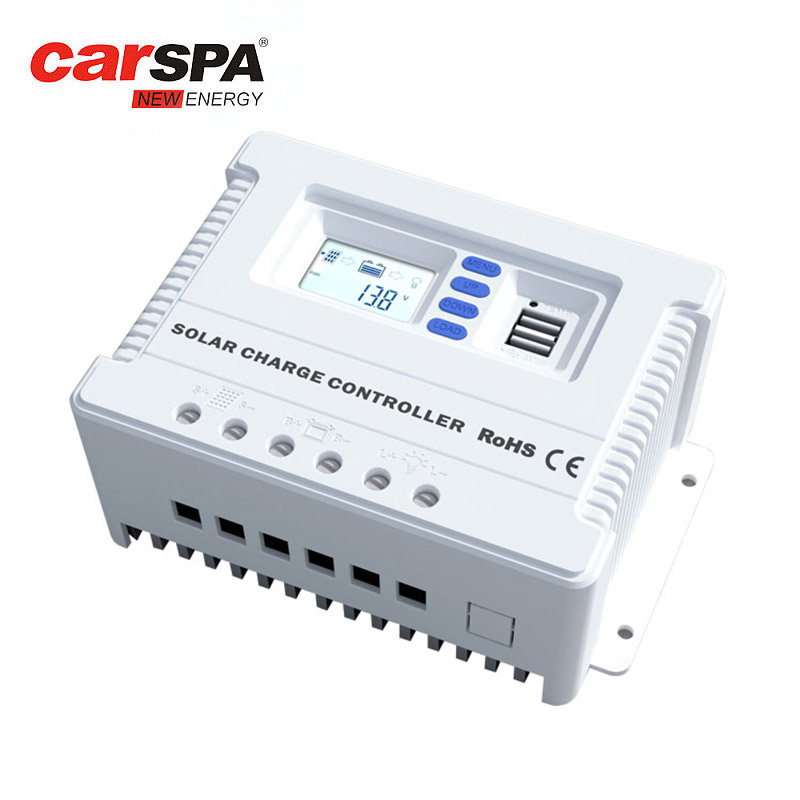
Teach you step by step how to make and install a 1000 watt power inverter and solar panel
As renewable energy technology becomes increasingly mature, homemade inverters are becoming more and more popular, especially where off-grid power is required. Homemade inverters can not only reduce dependence on traditional power grids, but also provide practical opportunities for understanding power systems. This article details how to make a 1000 watt pure sine wave inverter and how to effectively combine it with a solar panel system to help readers achieve higher energy efficiency and self-sufficiency, and to experience a new lifestyle for you. Provide some practical suggestions.
Materials and Tools
Materials and tools mainly include MOSFETs, transformers, circuit boards, resistors, capacitors, diodes, oscillator circuits, fans, wiring materials and insulation materials, soldering tools and basic electronic tools.
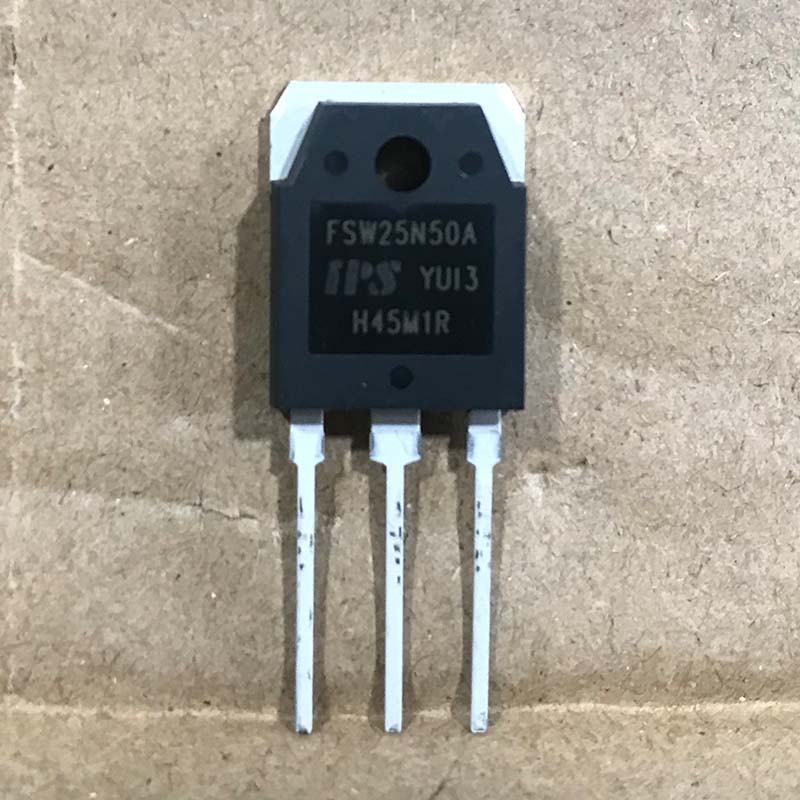
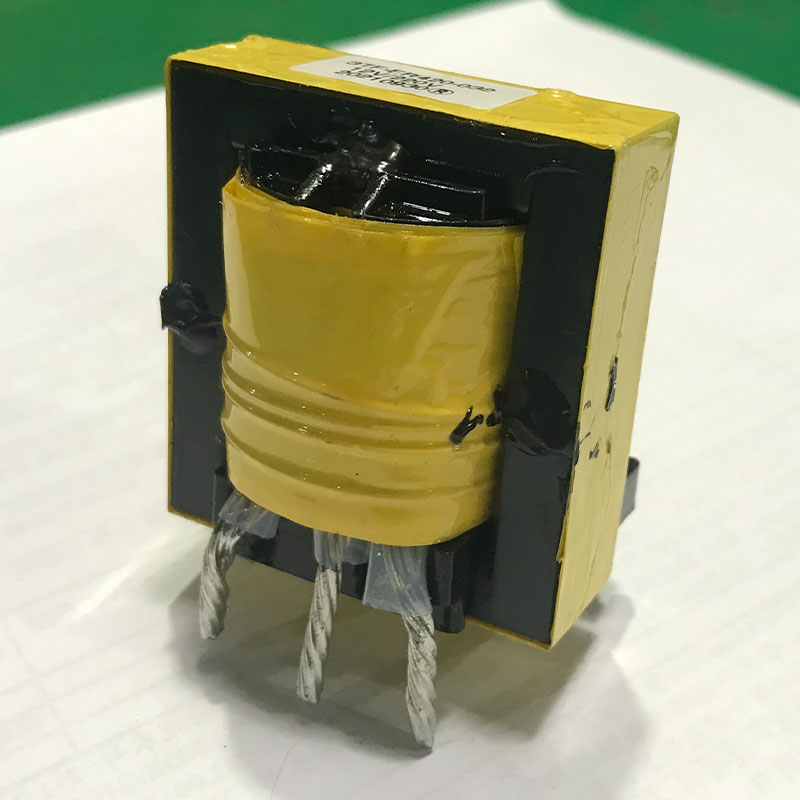
To make your own 1000 watt pure sine wave inverter, you first need to prepare the appropriate materials and tools. One of the core components is the MOSFET, such as IRF1404, which plays a key role in the inverter circuit as a switch and is capable of withstanding high currents and high voltages. Next, you need a transformer that can carry loads up to 1000 watts. Transformer selection is critical to the inverter's performance and output voltage stability.
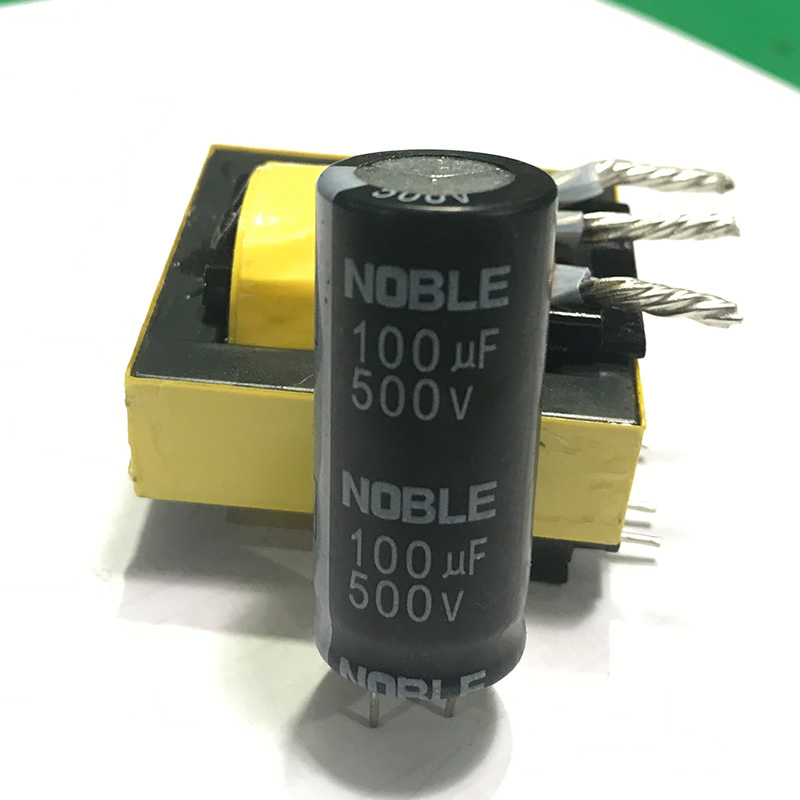
Other basic components of circuits include resistors, capacitors, and diodes. These components are used to build the control part and filtering part of the circuit, ensuring the stable operation of the circuit and the quality of the output current. In order to generate the required sine waveform, you will also need an oscillator circuit. The stability and accuracy of the oscillator directly affects the quality of the inverter output voltage.
In addition to electronic components, appropriate wiring materials and insulation materials need to be prepared to ensure safety. At the same time, the inverter generates heat during operation, so a fan must be installed for effective heat dissipation. Tool-wise, you'll need soldering tools, electronic test instruments (like multimeters and oscilloscopes), and regular electronics work tools (like screwdrivers, pliers, etc.).
(MOS, transformer, capacitor)
Production steps
The production steps mainly include designing the circuit diagram, assembling the circuit, installing the oscillator, connecting the transformer, testing the circuit, adjusting and optimizing, and packaging. See the detailed steps below.
After you have all the necessary materials and tools, the next step is to design and assemble the circuit. First, you need to draw a detailed circuit diagram. This drawing should include all electronic components and the connections between them, as well as the design of necessary protective measures, such as short-circuit protection, overload protection and temperature protection. These protection measures not only ensure the long-term stable operation of the equipment, but also protect the safety of users in abnormal situations.
After the circuit diagram is completed, start mounting and soldering components on the circuit board. During installation make sure all connections are correct and the solder joints are tight. The oscillator circuit is then installed in place, which is the core part of generating a pure sine wave. Next, connect the transformer, making sure its input is connected to the DC source and its output is connected to the output of the inverter.
After the circuit assembly is completed, preliminary circuit testing is performed. You can start testing with a lower input voltage and a smaller load, and gradually adjust to full load operation to observe the performance and stability of the circuit. This step is very critical as it can help you discover and solve possible problems in your circuit design.
Tweak and optimize
After preliminary testing, necessary adjustments and optimizations are made based on the test results. This may include adjusting certain parameters in the circuit, such as resistor values, capacitor values, or MOSFET switching frequencies, to achieve optimal operating performance and output waveform quality. In addition, ensure that the inverter's cooling system can work effectively, and if necessary, add additional cooling equipment, such as larger fans or heat sinks.
The final step is to encapsulate the circuit in a secure enclosure. The enclosure must not only protect the electronic components from physical damage, but also be designed with appropriate vents to facilitate heat dissipation. Make sure all wiring is insulated according to safety standards to avoid any possible electrical shorts.
Things to note when making a 1000 watt pure sine wave inverter
Safety First: Always pay attention to safety when operating electrical equipment, especially when dealing with high voltages.
Inverter efficiency: Consider efficiency when designing to avoid unnecessary energy loss.
Heat dissipation: The inverter will generate heat when working, and reasonable heat dissipation is necessary.
After completing the fabrication of the inverter, the next step is to integrate it with the solar system to ensure that the inverter can effectively receive power from the solar panels and become self-sufficient. This requires precise planning and implementation of solar panel placement and connections to maximize energy collection and conversion efficiency.
Why combine an inverter with a solar panel?
Using an inverter in conjunction with solar panels is a common practice, primarily due to the inverter's ability to convert the direct current (DC) generated by the solar panels into alternating current (AC) that can be used for home or commercial purposes. Combining an inverter with a solar panel has the following main purposes and benefits:
Energy self-sufficiency: The solar energy captured through solar panels can be directly converted into electricity. After conversion using an inverter, it can be directly used by households, reducing dependence on the public grid. This is particularly beneficial for users in remote areas or those wishing to become energy independent.
Economic benefits: Although the initial investment is higher, in the long run, solar systems can significantly reduce electricity bills. The addition of an inverter allows these systems to use solar energy more efficiently because it converts all the DC power produced by the solar panels into AC power, increasing the actual energy usage.
Environmentally friendly: Solar energy is a clean, renewable energy source. Using solar panels combined with an inverter can reduce fossil fuel consumption and carbon emissions, helping to reduce the impact on the environment.
Increase system adaptability and flexibility: Inverter technology allows solar systems to more easily integrate with home grids or storage systems (such as batteries), providing a continuous and stable power supply that can continue even when the sun is not shining Provide electricity.
Policy and incentive support: Many regions provide financial subsidies or tax incentives for installing solar systems. Solar systems using inverters can often more effectively comply with these policy requirements and obtain government support. Take the United States, for example. When purchasing solar panels in the United States, buyers can take advantage of a variety of incentives to reduce costs. The most important is the federal solar tax credit, which allows solar panel owners to deduct 30% of the installation cost in the second year after installation, an incentive program that will phase out in 2035. In addition, different states offer additional tax incentives and rebates, such as additional state tax credits and Solar Renewable Energy Certificate (SREC) markets that allow system owners to earn for every megawatt hour of electricity sold. SRECs to offset costs. Local governments and utilities may also offer rebates or incentives such as net metering systems, which allow solar panel owners to sell unused power back to the grid and receive a credit on their electricity bills.
In summary, the combination of inverters and solar panels not only provides a continuous supply of electricity, but also helps achieve energy independence while reducing long-term energy costs and playing a positive role in environmental protection. This system provides an energy solution that is both practical and sustainable, suitable for a variety of residential and commercial environments.
How many solar panels do I need for a 1000 watt power inverter
In order to support a 1000 watt power inverter powered entirely by solar panels, you need to calculate the number of solar panels required, which depends on several factors, including the efficiency of the solar panels, the sunlight conditions in your area, and your electricity needs.
To choose the right number of solar panels for a 1000 watt power inverter, we need to consider several key factors, which together determine the number and type of solar panels required. Here are the detailed steps and considerations:
1. Determine the actual power requirements of the inverter
First, clarify the power requirements of the inverter. A 1000 watt power inverter means that at peak load it can output up to 1000 watts of power. However, actual use may not always run at peak value, so this is the theoretical maximum requirement.
2. Estimate daily electricity consumption
Calculate how much electricity the devices you plan to power from the inverter will require in total throughout the day. For example, if your inverter-powered equipment runs an average of 5 hours a day, your total daily electricity usage is 1000 watts × 5 hours = 5000 watt-hours.
3. Consider geographical location and sunlight conditions
Your geographical location is crucial to solar panel selection. The length and intensity of sunlight vary in different areas, which directly affects the power generation efficiency of solar panels. For example, the number of solar panels needed may be significantly different between a user in an area with lots of sunshine, like Arizona, and someone in an area with less sunshine, like Washington state.
4. Calculate the total power of the solar panels required
Use the hours of sunshine and the efficiency of the solar panels to calculate the total solar panel power required. If the average effective sunshine duration in your area is 5 hours, the total solar panel power required is at least: Total power required = Total electricity usage Sunshine duration = 5000 Watt hours 5 hours = 1000 Watts Total power required = Total sunshine duration Electricity consumption = 5 hours 5000 watt hours = 1000 watts
5. Choose the right solar panels
Based on the calculations above, you can choose the right solar panels. If each solar panel has a nominal power of 250 watts, then at least 4 such panels are needed. Taking into account possible losses and reduced efficiency in actual applications, it is recommended to purchase solar panels with a slightly higher power than the calculated results or to increase the number of panels to ensure that energy needs can be met under less than ideal conditions.
6. Consider additional factors
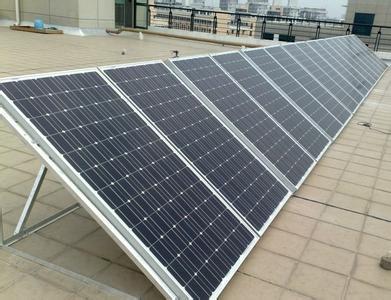
In addition, other factors need to be considered when installing solar panels, such as roof space, solar panel orientation, possible obstructions, etc. All of these factors affect the actual power generation efficiency of a solar panel. At the same time, the advantages and disadvantages of different installation methods also need to be understood clearly.
Roof installation pros and cons
advantage:
It does not take up floor space and is especially suitable for residential areas.
It can usually face the sunlight directly to increase power generation efficiency.
shortcoming:
Installation and maintenance can be more difficult, especially on high roofs.
The structure and materials of the roof may limit installation.
Advantages and disadvantages of ground installation
advantage:
Easy to install and maintain.
The angle can be adjusted according to the position of the sun to optimize power generation efficiency.
shortcoming:
Takes up land space and may not be suitable for areas with restricted land use.
Initial construction costs may be higher because of the need to build support structures.
By taking the above factors into consideration, you can more accurately estimate the number of solar panels needed to meet the needs of a 1000 watt power inverter. Such calculations ensure that you can utilize your solar system efficiently, taking into account cost-effectiveness and sustainable operation of the system. It’s important to keep in mind that it’s important to choose the right number and power of solar panels based on your specific needs and the conditions in your area.
Integration and optimization of solar systems
This process requires careful consideration of electrical connections and compatibility to ensure smooth and efficient transfer of energy from the solar panels to the inverter. First, you need to connect the output of the solar panel to the input of the inverter, using cables and interfaces of appropriate specifications to ensure the stability and safety of the connection.
1. System configuration and connection:
Make sure all solar panels are properly connected in series or parallel according to electrical specifications to match the inverter's input voltage and current requirements.
Use high-quality wiring and connectors to reduce energy loss and protect the system from environmental factors.
Install a solar tracking system to optimize sunlight reception and further improve energy efficiency.
2. Energy management and monitoring:
Configure an energy management system to monitor the performance of solar panels and inverters to ensure the system is operating at optimal conditions.
Install necessary safety devices, such as overload protection and automatic power-off systems, to prevent system overload or short circuit.
3. Testing and debugging:
After connecting the solar panels, conduct a full system test to check the integrity of the electrical connections and the overall performance of the system.
Adjust system parameters such as solar panel angles and inverter settings to achieve optimal energy conversion efficiency.
Such integration not only enhances the energy efficiency of the system, but also ensures long-term stable operation, providing a reliable energy solution for off-grid applications or backup power.
Conclusion
In short, if you are interested and have certain hands-on ability, and on the premise of ensuring your own safety, you can successfully make a powerful 1000 watt pure sine wave inverter and equip it with a corresponding solar support system. Adjust and optimize your system design according to specific needs and environmental conditions. The 1000W pure sine wave inverter is undoubtedly a very practical device, providing a continuous and independent source of power for a home or small business, while also helping us to further achieve technological self-sufficiency, opening the door for people pursuing a sustainable lifestyle.

