How To Setup a Basic Solar Charge Controller and How to Select and Size it?
With the increasing shortage of energy resources and the popularization and application of green energy, more and more people are paying attention to solar power generation systems. As an important part of the solar energy system, the solar charge controller plays a key role in ensuring the stability and efficiency of the system. Next. This article will introduce in detail how to set up a basic solar charge controller and provide a practical guide to selecting and sizing the controller.
How to Set Up a Basic Solar Charge Controller
Basic Concepts of Solar Charge Controller
Before setting up a solar charge controller, we first need to understand its basic concepts. The solar charge controller is an important device that connects the solar panel and the battery. Its main function is to regulate the current and voltage, protect the battery from overcharge or over discharge, and ensure the efficient operation of the solar energy system.
Types of Solar Charge Controllers
There are two main types of solar charge controllers on the market: PWM (Pulse Width Modulation) and MPPT (Maximum Power Point Tracking).
PWM controller: This controller controls the charging process of the battery by adjusting the pulse width of the charging current. It is simple and relatively cheap, and is suitable for small solar energy systems.
MPPT controller: This controller adjusts the operating voltage and current of the solar panel so that it always works at the optimal power point, thereby improving the charging efficiency. MPPT controllers are expensive, but they are worth the investment for large solar systems.

Solar Charge Controller Features
Solar charge controllers mainly have the following functions:
Battery charge management: Automatically adjust current and voltage to prevent overcharging or over-discharging of the battery.
System protection: Provides overload, short circuit, reverse connection and other protection functions to ensure system safety.
Status monitoring: Real-time monitoring of the working status of solar panels, batteries and loads, and provides necessary data information.
How to set up a basic solar charge controller
Preparation
Before you start setting up, you need to prepare the following tools and equipment:
Solar panel
Solar charge controller
Battery (usually 12V or 24V lead-acid battery)
Wires and connectors
Tools (screwdriver, wrench, etc.)
Connecting solar panels and charge controller
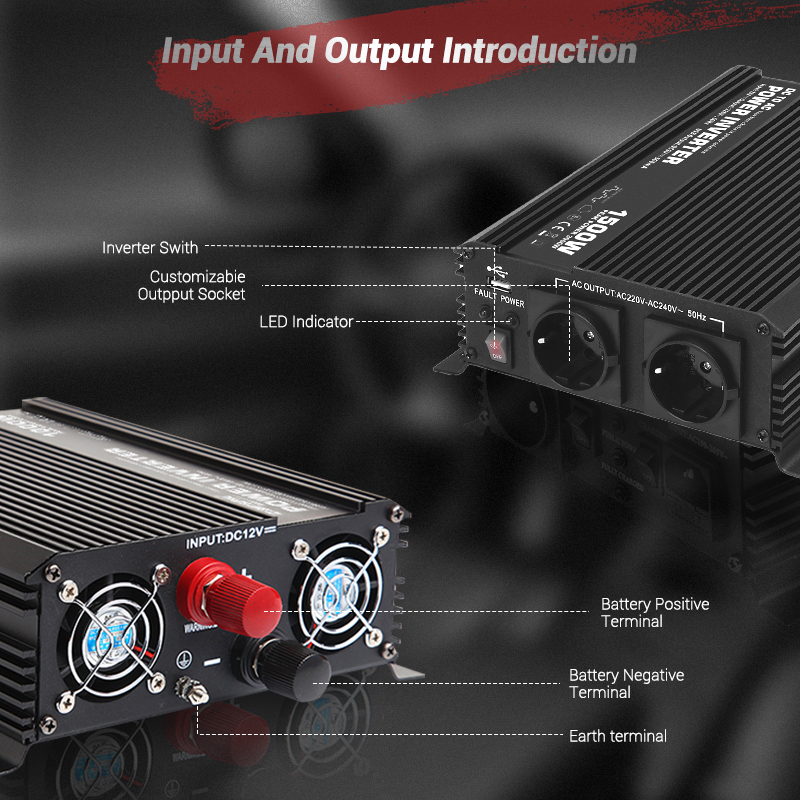
The first step is to connect the solar panel to the charge controller. Usually, the charge controller will be marked with input ports (PV), which are specifically used to connect solar panels. Use wires to connect the positive and negative poles of the solar panel to the input ports of the charge controller respectively, making sure the connections are firm and correct.
Connecting the battery and charge controller
Next, connect the battery to the battery port (Battery) of the charge controller. Similarly, use wires to connect the positive and negative poles of the battery to the corresponding ports of the charge controller. Note that the battery should be connected first, and then the solar panel to prevent the current from being too large and causing damage to the device.
Connect the load
If you need to power other devices, you can connect the load to the load port (Load) of the charge controller. This step is optional and is performed according to specific needs.
Adjustment and monitoring
After the connection is completed, the parameters of the charge controller, such as battery type, charging voltage, etc., can be adjusted according to the instructions. Then, the operating status of the system can be monitored in real time through the display on the controller or the supporting monitoring software to ensure that everything is normal.

How to select and size a solar charge controller
Determine system requirements
To select a suitable solar charge controller, you first need to clarify the system requirements, including the following aspects:
Power and voltage of the solar panel: Select a matching charge controller based on the rated power and operating voltage of the solar panel. For example, if the voltage of the solar panel is 24V and the power is 300W, you need to choose a charge controller that supports 24V input and has a maximum current of not less than 300W/24V=12.5A.
Battery type and capacity: Different types of batteries have different requirements for charging current and voltage. You need to choose a suitable charge controller based on the battery parameters.
Load requirements: If the system needs to power the load, you need to calculate the power requirements of the load to ensure that the charge controller can provide enough current.
Choose the right controller type
Choose PWM or MPPT controller according to system requirements:
If the system is small and the budget is limited, PWM controller is an affordable choice.
If the system is large and you want to improve charging efficiency, MPPT controller is more suitable.
Calculate the rated current of the controller
Calculate the rated current of the controller based on the power and voltage of the solar panel. For example, if the total power of the solar panel is 400W and the system voltage is 24V, the rated current of the controller should be at least 400W/24V=16.7A. To ensure the stable operation of the system, it is recommended to choose a controller with a rated current slightly higher than the calculated value, such as a 20A controller.
Pay attention to other functions of the controller
When choosing a controller, you also need to pay attention to its other functions, such as:
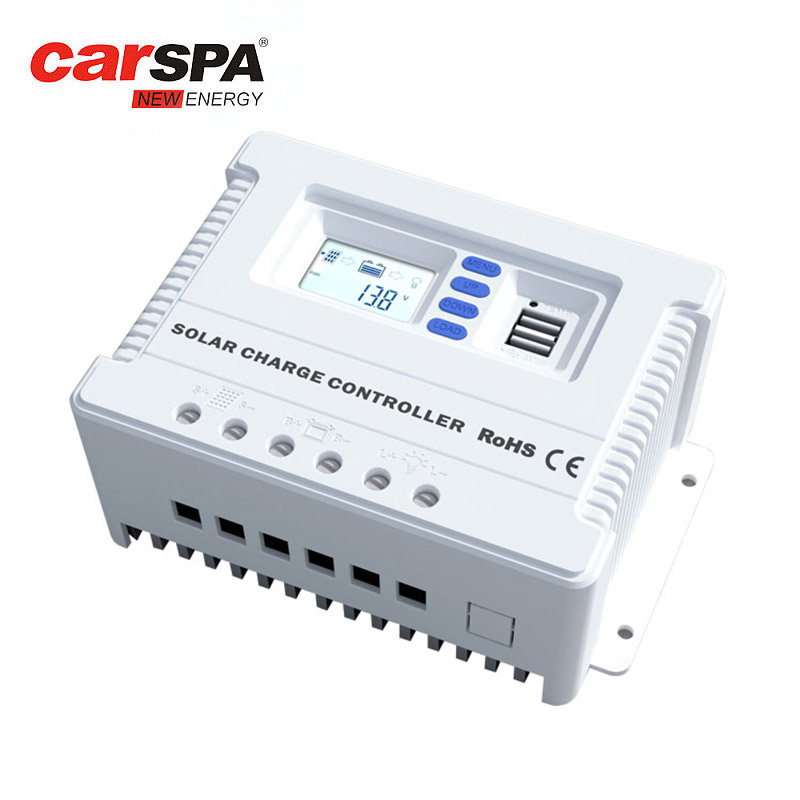
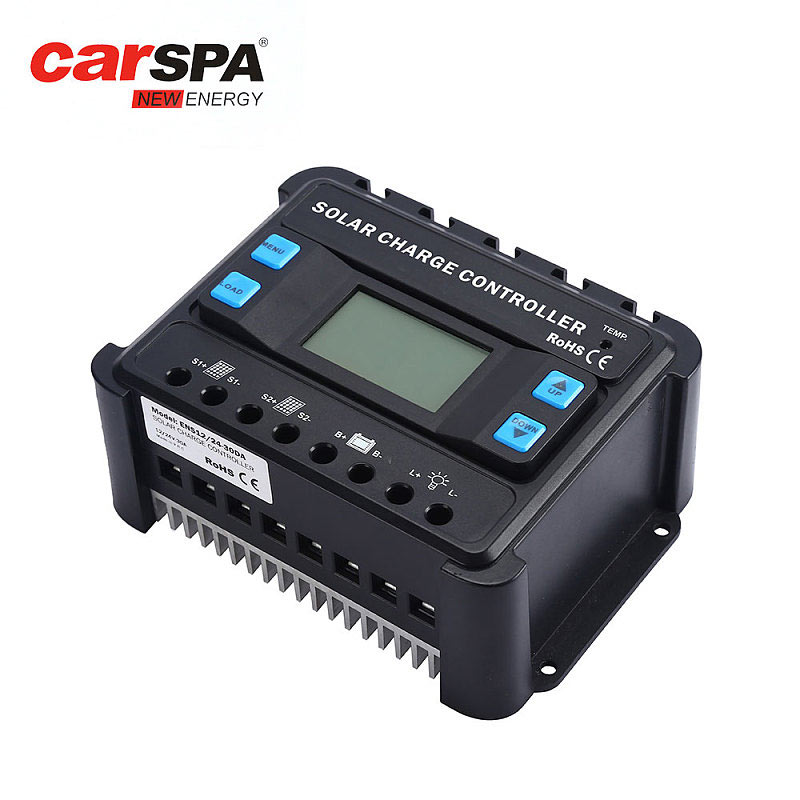
Display and monitoring functions: whether it has a display screen or supports remote monitoring, so that you can view the system status in real time.
Protection function: whether it has protection functions such as overcharge, over discharge, short circuit, reverse connection, etc. to ensure system safety.
Scalability: whether it supports parallel or series use to meet system expansion needs.
Installation and maintenance
Selection of installation location
Choosing a suitable installation location is very important for the stable operation of the charge controller. High temperature, high humidity and dusty environment should be avoided as much as possible to ensure that the controller is well ventilated and easy to operate and maintain.
Regular inspection and maintenance
Regularly check the connection between the charge controller and the entire solar system to ensure that each joint is firm and the wires are not aged or damaged. Perform necessary cleaning and maintenance according to the instructions for use of the controller to extend the service life of the equipment.
Data recording and analysis
Record the system's operating data through the controller's monitoring function, analyze this data regularly, understand the system's operating status, promptly discover and solve potential problems, and improve the overall efficiency of the system.
Conclusion
Setting and selecting a suitable solar charge controller is the key to ensuring the efficient operation of the solar system. By understanding the basic concepts of the controller, the correct setting steps, and the scientific selection and size of the controller, you can maximize the use of solar resources and improve the charging efficiency and stability of the system. At the same time, regular inspection and maintenance are also important links to ensure the long-term stable operation of the system. By following the above steps, I believe you can successfully set up and run your solar energy system and contribute to the application of green energy.