How to connect solar panels to inverter?

As the "alternative energy of the 21st century," solar systems play a key role for those who want 24-hour power. Since it is pollution-free and environmentally friendly, an inverter is something every home should have. If you have solar panels and want to build a solar system to generate your electricity, you must know how to connect the solar panels to an inverter and a battery. All the components must be connected in order for the system to work properly and operate all household appliances, including the air conditioner, TV and refrigerator. This article will walk you through how to connect a solar panel to inverter in 4 steps.
Can I connect solar panel directly to inverter?
The answer is NO. Between solar panel and inverter, we need solar charge controller to ensure that the current from the solar cell flows into the inverter at a constant rate.
The installation of solar panels.
Placing solar panels firmly on the roof is not a simple operation. We need to find the best location for solar panels and maximize the amount of sunlight that can be collected and converted into solar energy. Before connecting solar panels, you must determine the type of connection that is appropriate for your solar system. There are generally two types of connections, parallel and series. The following will compare the two connection methods for you. At the same time, we need to buy connectors for solar panels.
Parallel inverters and solar panels increase the current while keeping the voltage constant. The positive side of the solar panel is connected, the negative side of the two panels is connected, when they are connected parallel. This parallel connection could connect more solar panels and generate more electricity. In series, the voltage increases while the current remains constant. However, the failure of one panel in series will cause the entire circuit to fail. Therefore, the wiring mode will affect the working efficiency of the series and parallel solar panels. Our home inverter had better be connected in parallel. Even if one of the panels fails, the remaining panels will continue to function normally and will not affect the overall system. Of course, there are now hybrid inverters that support hybrid series and parallel connections. So series or parallel is not the only criteria for us to choose inverters.
Connect the charging controller.
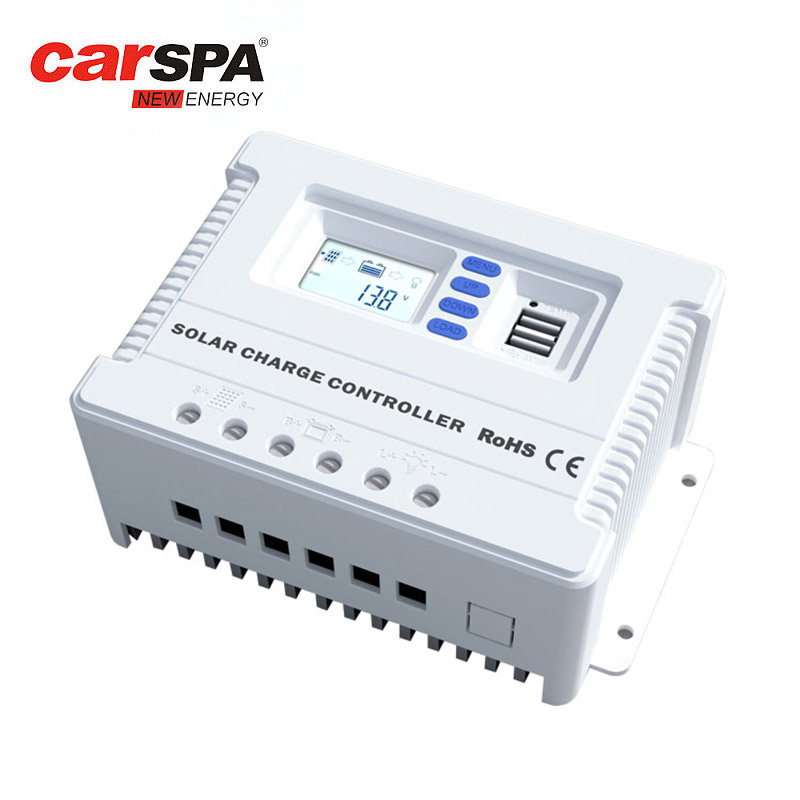
To ensure that the current from the solar cell flows into the inverter at a constant rate, we need to install a charging controller between the solar panel and the inverter. Solar charging controller is mainly divided into MPPT and PWM two types, the difference is the efficiency, MPPT efficiency will be higher than PWM. The solar charging controller has three connection points for solar panels, batteries and direct current (DC). Solar panels have two wires, positive (+) and negative (-). Connect them where the solar panel indicates on the charge controller, positive to positive and negative to negative.
Connect the battery to the inverter.
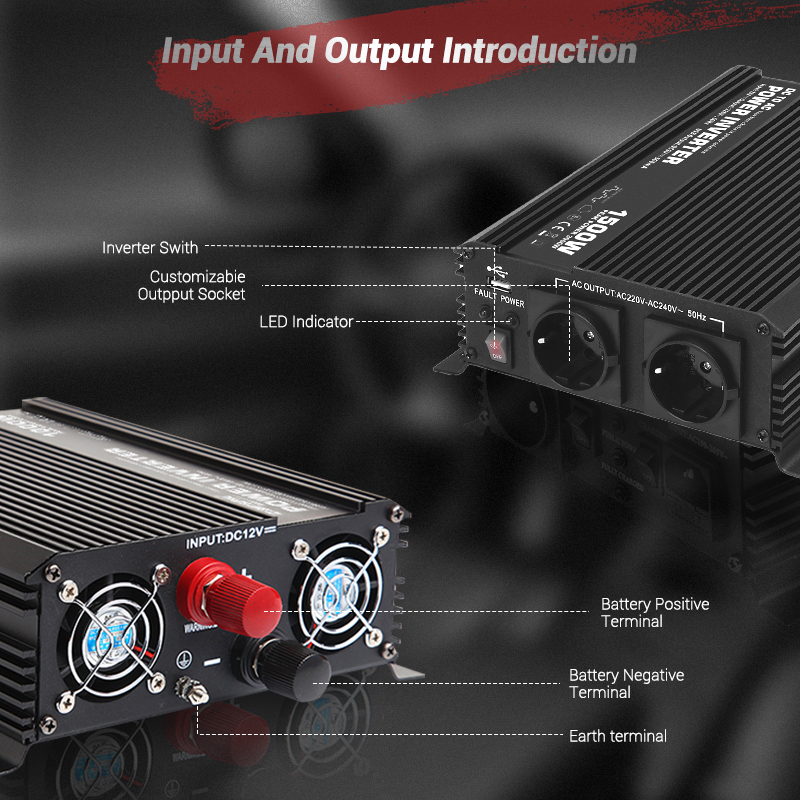
Connect the battery’s positive (+) terminal to the inverter’s positive (+) terminal and the battery’s negative (-) terminal to the inverter’s negative (-) terminal. On The inverter needs to switch off for this process.
Connect the battery to charge the controller.
The charge controller has positive (+) and negative (-) terminals for the battery. Relate the charge controller’s positive (+) terminal to the positive terminal of the battery and its negative (-) terminal to the negative terminal of the battery.


