Solar Panel Installation: How to Install Solar Step by Step

If you spend time outdoors away from power sources, you may still want to be able to use some of your electronics. Since many people have devices that run from standard outlets or USB ports, you can use a solar panel to charge the batteries that run these devices.
How Weather Affects Solar Panel Efficiency?
The Solar Panel setup ideally needs to handle days that can be cloudy or rainy. Remember that solar panels are not effective from dawn to dusk, only when the sun is strong enough to shine on them. For these reasons, it's best to go overboard on solar panels and batteries, choosing limits based on physical size and what you can afford.
How do I choose which solar panels to use?
The choice of solar panel depends on the total amount you draw from the battery, and how much the solar panel can charge the battery in sunlight.
If you want to draw 10A per hour at 13.8V (which is the battery voltage when running on 12A cells), you'll be drawing a total of about 140W.
10A*13.8V=140W (per hour).
If you assume about 8 hours of effective sunlight, then we can divide 140W by 8 to get 17.5W per hour. Because battery charging isn't 100% efficient, and a lot of the power isn't recovered but converted to heat and gas, that means a solar panel of about 20W can do the job under ideal conditions.
What do I need to connect a solar panel to a battery?
1. One 100Ah AGM lead-acid battery
2. Battery box: Battery terminal with solar panel input, USB interface and 12V socket, built-in digital voltmeter.
3. A 120W solar panel: Foldable with built in solar charge controller for easy connection (not all solar panels have built in solar panels).
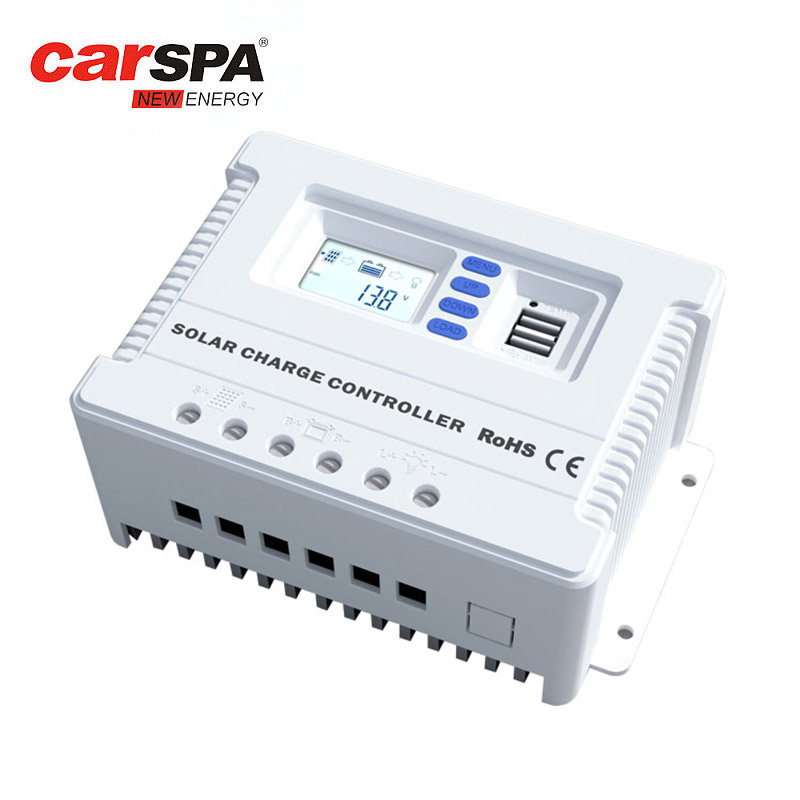
4. PWM solar charge controller: PWM stands for Pulse Width Modulation, and it's a safe and efficient way of charging that keeps costs down. You can choose a 5m long cable with an Anderson plug at the end, which is safer and more convenient to connect. If you stay connected, the solar charge controller will stop your battery from overcharging and keep your battery from discharging overnight.
How to Connect a Solar Panel to a Battery?
1. Install the battery into the battery box
Before we install the battery into the battery box, please pay attention to the positive and negative terminals of the battery, the red positive terminal on the battery needs to match the position of the red power cord, it is easier to put the battery and box in the best position for installation.
2. Mounting bolts
Remove the bolts on the battery terminals, connect the positive and negative power wires and tighten the bolts. These terminals on the battery box are where we need to connect the solar panel. The wires on the solar panel have a 50A Anderson connector. The solar panel also comes with Anderson to alligator clip leads and Anderson eyelet leads. This grommet line is the most practical for us as we can attach to the charging bolt on the battery case.
3. Connect with the connector and determine the best orientation
This Anderson connector is where we can connect the solar panel to charge the internal battery. Unfold the solar panel and stand it up by swinging the legs, then just align the Anderson connectors and push them together firmly. If you're outdoors, turn the solar panels toward the sun for optimal charging. Check the LED or LCD on the controller and you will see the battery is charging.
Summarize
Now you have a powerful portable solar battery system. For more information contact the carspa team for free.


